Best KineMaster Export Settings for High-Quality Videos (Complete Beginner Guide)
Creating high-quality videos on a smartphone is no longer difficult. With powerful mobile editing apps like KineMaster, anyone can produce professional-looking content. However, many beginners struggle at the final step—exporting the video. Choosing the wrong export settings can reduce video quality, blur details, and affect colors.
In this guide, you’ll learn the best KineMaster export settings for high-quality videos, along with practical tips for using filters correctly. This article is perfect for YouTubers, vloggers, gamers, and social media content creators.
Why Export Settings Matter in KineMaster
Export settings determine how your edited video looks after rendering. Even if you use advanced video editing in KineMaster, poor export choices can ruin your hard work. Proper settings help maintain sharpness, smooth motion, and accurate colors.
Using the best KineMaster settings ensures your video looks great on platforms like YouTube, Instagram, Facebook, and TikTok. Export quality also affects loading speed, compression, and viewer experience.
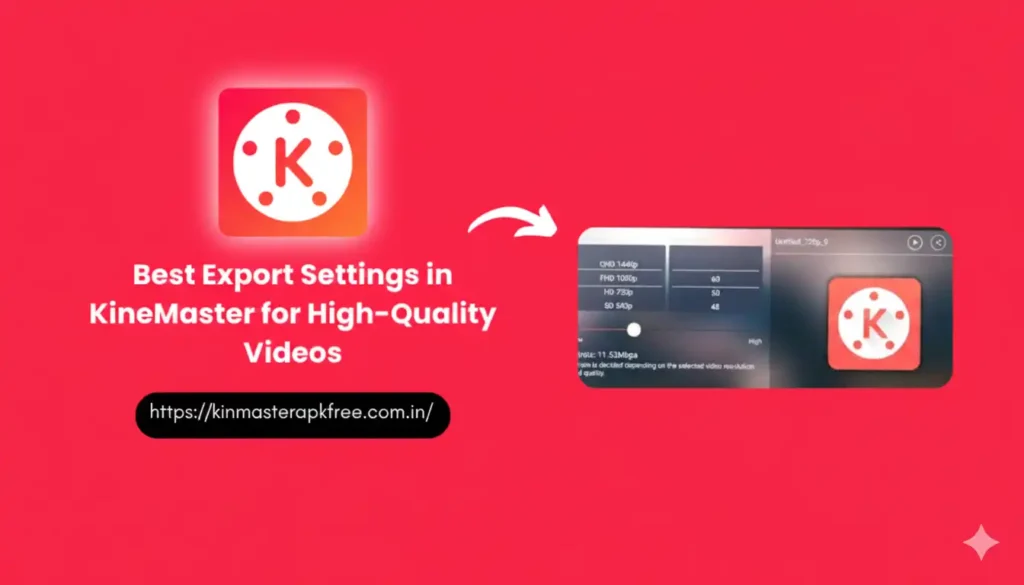
Best KineMaster Export Settings for High Quality
Here are the recommended KineMaster export settings most professional creators use:
Resolution
- 1080p (1920×1080) – Best for YouTube and social media
- 4K (3840×2160) – Only if your original footage is 4K
Never export at a higher resolution than your source video.
Frame Rate (FPS)
- 30 FPS – Best for vlogs, tutorials, reels
- 60 FPS – Best for gaming videos and action scenes
Bitrate (Very Important)
- 1080p 30 FPS: 10–12 Mbps
- 1080p 60 FPS: 16–20 Mbps
- 4K 30 FPS: 35–45 Mbps
Higher bitrate = better video quality, but larger file size.
Quality Slider
- Always choose High Quality or Maximum
Audio Settings
- Audio format: AAC
- Audio bitrate: 192–320 kbps
These settings help preserve KineMaster video quality and prevent pixelation.
Role of Filters in High-Quality Video Export
Filters enhance the look of your video by adjusting color, brightness, and contrast. When used correctly, KineMaster filters can make your video more engaging and professional.
Popular filters work best when paired with proper export settings and KineMaster color correction.
Practical Tips for Using Filters in KineMaster
Here are some practical and beginner-friendly tips to get the best results:
1. Start with Color Correction
Before applying any filter, adjust brightness, contrast, saturation, and highlights manually. This improves KineMaster color grading and avoids overprocessing.
2. Use Filters Lightly
Avoid using strong filters at 100%. Reduce intensity to keep a natural look, especially for cinematic video editing.
3. Match Filters to Content Type
- Vlogs: Natural or warm filters
- Gaming: Vibrant filters
- Cinematic videos: Cool or cinematic filters
This improves KineMaster video editing tips effectiveness.
4. Avoid Multiple Filters
Stacking filters can reduce sharpness and cause color distortion. One well-adjusted filter is enough for high-quality video export.
5. Preview Before Export
Always preview the full video to check color consistency, especially if you’re exporting for YouTube or Instagram.
Best Export Settings for Social Media Platforms
KineMaster Export Settings for YouTube
- Resolution: 1080p
- FPS: 30 or 60
- Bitrate: 12–20 Mbps
KineMaster Export Settings for Instagram & Reels
- Resolution: 1080×1920 (9:16)
- FPS: 30
- Bitrate: 8–10 Mbps
These settings work perfectly for KineMaster for YouTube and KineMaster for Instagram.
Common Mistakes to Avoid
- Exporting multiple times (causes quality loss)
- Using low bitrate with high resolution
- Ignoring original video resolution
- Overusing filters and effects
Following the best export settings in KineMaster avoids these mistakes.
Conclusion
Mastering the best KineMaster export settings for high-quality videos is essential for every content creator. High resolution, correct frame rate, proper bitrate, and smart filter usage can dramatically improve your final output.
By combining good editing, careful filter application, and optimized export settings, you can create professional videos using KineMaster app, even as a beginner. Whether you are creating vlogs, gaming videos, or cinematic reels, these tips will help your content stand out.
With consistent practice and the right settings, KineMaster video editing can deliver impressive, high-quality results on any platform.