KineMaster Export Settings for High-Quality Videos Complete Beginner Guide (2026)
Not sure which KineMaster export settings to choose? This step-by-step beginner guide covers resolution, frame rate, bitrate, and format — so your videos always look sharp and professional.
If you have just started using KineMaster and your exported videos look blurry, pixelated, or too large in file size — you are not alone. The number one reason beginners face this problem is wrong KineMaster export settings.
Getting the right KineMaster export settings for high-quality videos does not have to be complicated. In this complete beginner guide for 2026, we will break down every setting in simple language — resolution, frame rate, bitrate, and format — so you can export perfectly every single time.
Pro tip: Always edit your project first and export last. Changing KineMaster export settings after export does not improve a low-quality original recording.
Why KineMaster Export Settings Matter
KineMaster is one of the most popular mobile video editing apps in 2026, used by millions of content creators, students, and YouTubers worldwide. But even a perfectly edited video can look bad if you export it with the wrong settings.
The right KineMaster export settings ensure your video has the correct resolution, smooth motion, proper file size, and is compatible with platforms like YouTube, TikTok, and Instagram. Whether you are creating short reels or long tutorials, the settings you choose at export time are final — so getting them right matters.
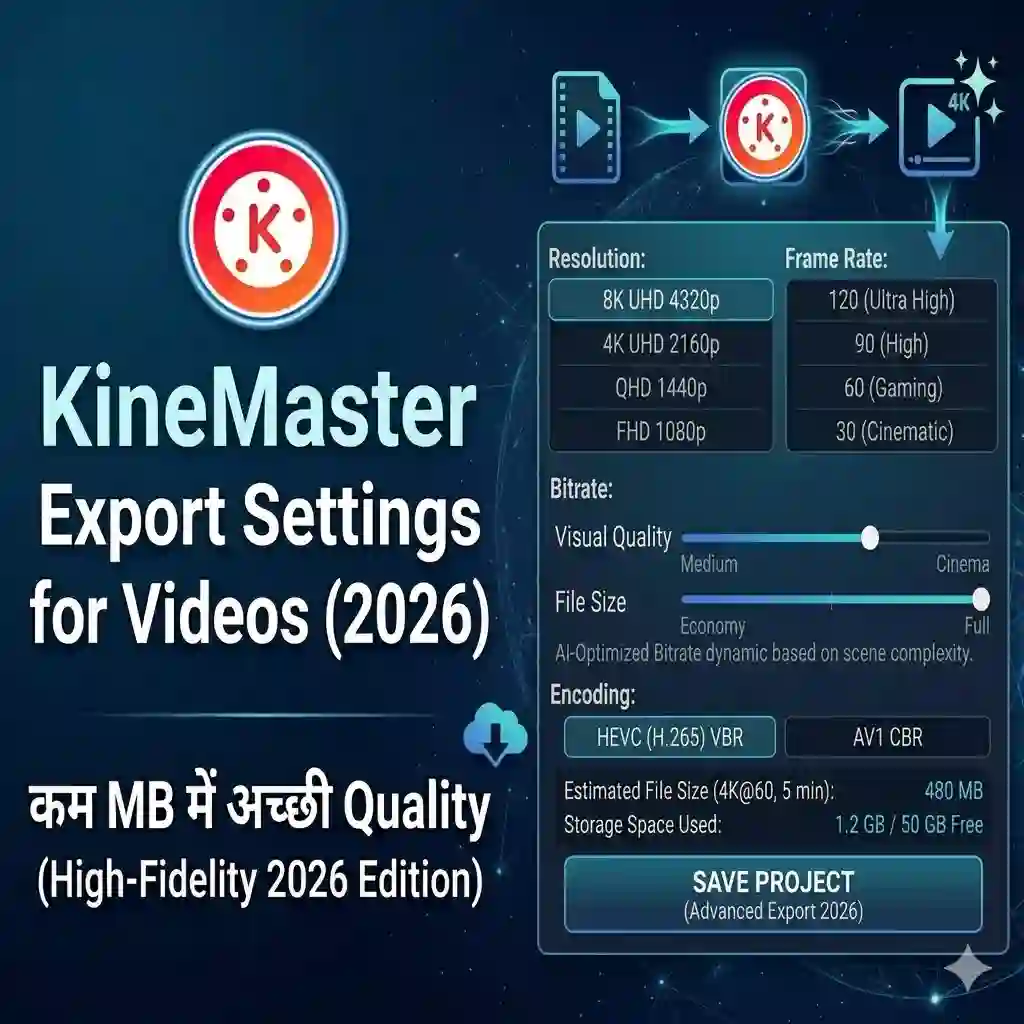
Best Resolution for KineMaster Export
Resolution controls how sharp and clear your video looks. KineMaster offers multiple resolution options. Here is a simple breakdown for beginners:
| Resolution | Best For | Quality |
|---|---|---|
| 720p (HD) | WhatsApp, casual sharing | Medium |
| 1080p (Full HD) | YouTube, Instagram, TikTok | Recommended |
| 4K (UHD) | Professional projects, cinematic | Best |
For most beginners, 1080p is the best KineMaster export resolution. It gives you excellent quality without creating huge file sizes that are slow to upload. If your phone supports 4K and you are creating professional content, go for 4K — but expect larger files.
Avoid exporting at 720p for YouTube or Instagram. It looks noticeably blurry on modern smartphone screens and can hurt your channel’s watch time.
Frame Rate Settings Explained
Frame rate (FPS — frames per second) controls how smooth your video motion looks. KineMaster lets you choose from several frame rate options. Here is what each one means for beginners:
- 2424 FPS — Cinematic look, used in movies. Great for story-based or dramatic content.
- 3030 FPS — Standard for most online videos. Best all-round KineMaster export frame rate for beginners.
- 6060 FPS — Super smooth, ideal for gaming videos, tutorials, or action content.
For beginners uploading to YouTube or TikTok, 30 FPS is the recommended KineMaster export setting for frame rate. It is universally compatible and looks great on all devices.
Bitrate — What Should You Choose?
Bitrate is the amount of data packed into each second of your video. Higher bitrate = better quality but bigger file size. Lower bitrate = smaller file but more compression and blurriness.
In KineMaster export settings, you will usually see a bitrate slider or presets. For high-quality videos, follow these beginner-friendly guidelines:
| Resolution | Recommended Bitrate | File Size (per min) |
|---|---|---|
| 720p | 5–8 Mbps | ~37–60 MB |
| 1080p | 10–16 Mbps | ~75–120 MB |
| 4K | 35–45 Mbps | ~260–338 MB |
As a beginner, set bitrate to the highest available option for your chosen resolution. You can always compress the file later using a free tool, but you cannot recover lost quality from a low-bitrate export.
Best KineMaster Export Format
KineMaster exports videos in MP4 format by default, and for most beginners this is exactly what you want. MP4 is compatible with every platform — YouTube, TikTok, Instagram, WhatsApp, and more. It is also supported on all Android and iOS devices without any conversion needed.
Stick with MP4 for all your KineMaster exports in 2026. It is the most universal, platform-friendly, and beginner-safe format available.
Step-by-Step Export Guide for Beginners
Follow these steps to export your video with the best KineMaster export settings for high quality:
- 1Finish editing your video in KineMaster and tap the Share / Export button (the arrow icon at the top right).
- 2Select Resolution: 1080p (or 4K if your device supports it and you need top quality).
- 3Set Frame Rate to 30 FPS for standard content, or 60 FPS for gaming and action videos.
- 4Adjust Bitrate to the highest available setting for your chosen resolution.
- 5Make sure the format is set to MP4 and tap Export.
- 6Wait for export to complete — do not close the app. Then check the video in your gallery before uploading.
KineMaster Export Settings for YouTube, TikTok and Instagram
Different platforms have different requirements. Here are the ideal KineMaster export settings for the most popular platforms in 2026:
| Platform | Resolution | Frame Rate | Format |
|---|---|---|---|
| YouTube | 1080p or 4K | 30 or 60 FPS | MP4 |
| TikTok | 1080p (vertical) | 30 FPS | MP4 |
| Instagram Reels | 1080p (vertical) | 30 FPS | MP4 |
| 720p | 30 FPS | MP4 |
Remember — for TikTok and Instagram Reels, always edit and export in vertical (9:16) aspect ratio inside KineMaster before applying these export settings. The aspect ratio is set in the project settings, not the export screen.
Frequently Asked Questions
What are the best KineMaster export settings for YouTube 2026?
Ans: For YouTube, use 1080p resolution, 30 or 60 FPS, the highest available bitrate, and MP4 format. If your phone supports 4K recording, export at 4K for best results.
Why does my KineMaster video look blurry after export?
This usually happens because of low resolution (720p or below) or low bitrate settings. Try exporting at 1080p with the highest bitrate option and your video will look significantly sharper.
Does KineMaster export in 4K on all phones?
No. 4K export in KineMaster is only available on devices that support 4K recording. If your phone camera does not shoot 4K, the option may not appear or the output will not be true 4K quality.
What is the best bitrate for KineMaster 1080p export?
For 1080p KineMaster export, a bitrate of 10–16 Mbps gives excellent quality with manageable file sizes. Always choose the highest available bitrate option in the export screen.
Is KineMaster free to use for exporting videos?
KineMaster’s free version adds a watermark to exported videos. To remove the watermark and unlock all export settings including 4K, you need a KineMaster subscription. Download KineMaster here and check the latest plan options.
Final Thoughts
Getting your KineMaster export settings right is the simplest and most effective way to improve your video quality as a beginner. The formula is straightforward: 1080p resolution, 30 FPS frame rate, highest bitrate, MP4 format. Follow these KineMaster export settings for high-quality videos every time and your content will always look clean, sharp, and professional — whether you upload to YouTube, TikTok, or Instagram.
Now that you know the best KineMaster export settings for 2026, you are ready to start creating better content. If you have not downloaded KineMaster yet, grab the latest version to get access to all these settings and features.